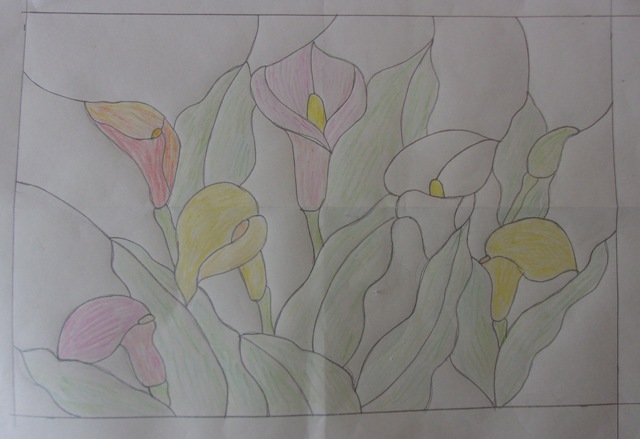
One of the best parts of stained glass is designing and making a new piece. In an effort to turn March into spring, I decided to work on a calla lily panel. First I spent several hours creating the design. I use pencil, paper and often a ruler or two and of course an eraser. I also like to colour in the pattern to get an idea of the finished project.
The next step is tracing the design on to Bristol board.
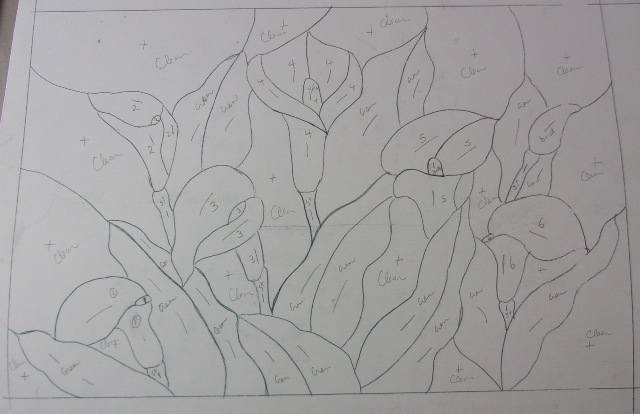
I make an individual cardboard pattern for each piece of glass I need to cut. For this design there are almost 70 pieces of glass. I also like to make notes on each pattern piece.
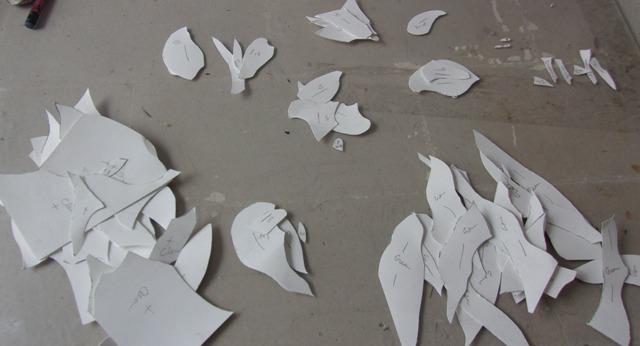
A lot of little pieces of cardboard! I get to pick the glass next.
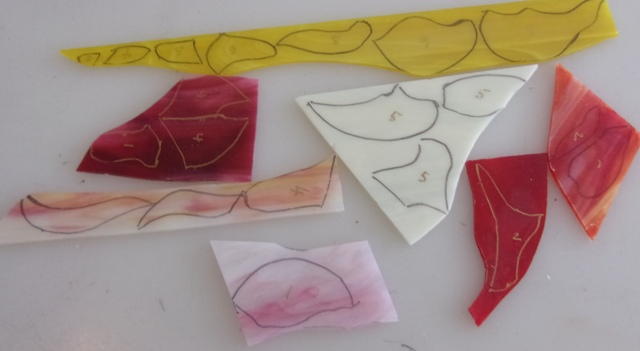
The next step is to trace around each pattern on a piece of glass. The ones above are the pieces for the flowers.
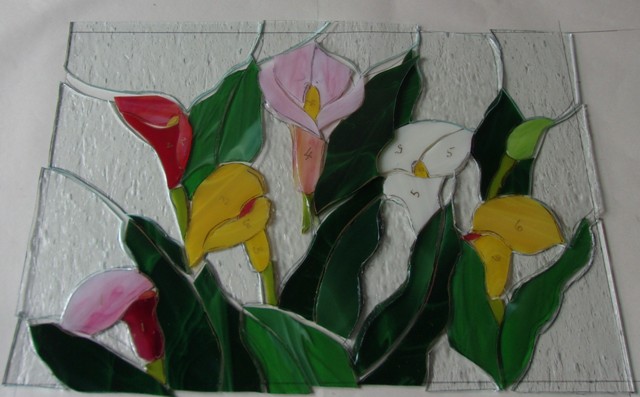
After all pieces of glass are cut it is fun to check them out. Here they are put back on top of the design, a chance to see how everything might look when the project is finished. On to grinding and fitting.
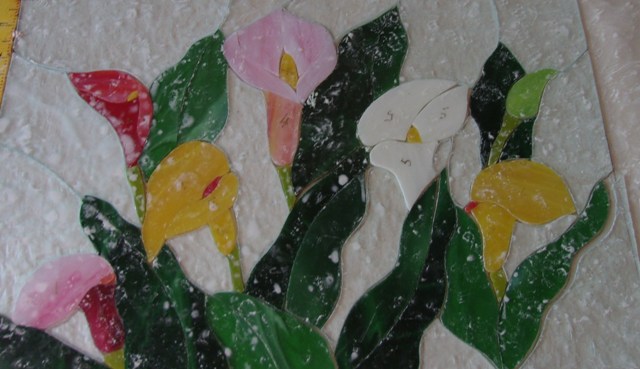
The panel looks a little messy after some work at the grinder. Each piece is smoothed and fitted, the over cuts and undercuts removed and everything put back in place. The pieces will be washed and wrapped in copper tape ready for soldering.
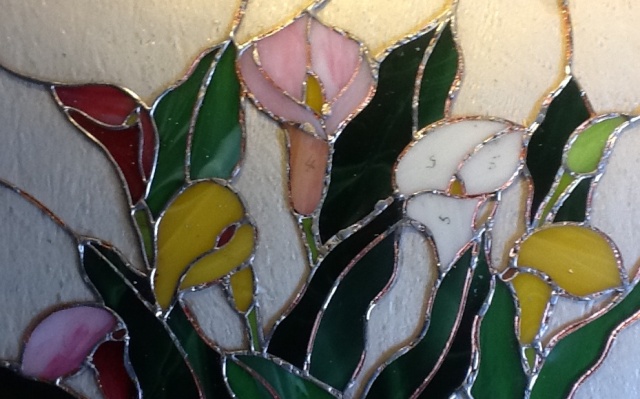
Soldering holds everything together. The panel again looks untidy as the soldering progresses. Both sides are soldered and zinc came is fitted around the edge as a finishing touch. And hooks so it can be hung in a sunny window. Soon the panel will be finished.
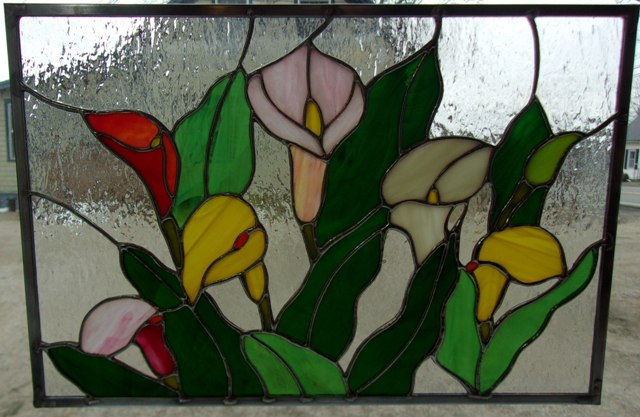
After many steps and several transformations, the calla lily panel has gone from an idea on paper to a colourful, cheery panel in a sunny window. I hope you have found my version of how it is made interesting.